

Prefer video? Watch the Blog Studio guide.
blog.example.com or your root domain. Articles then publish straight to your own branded blog, with HTTPS handled for you.
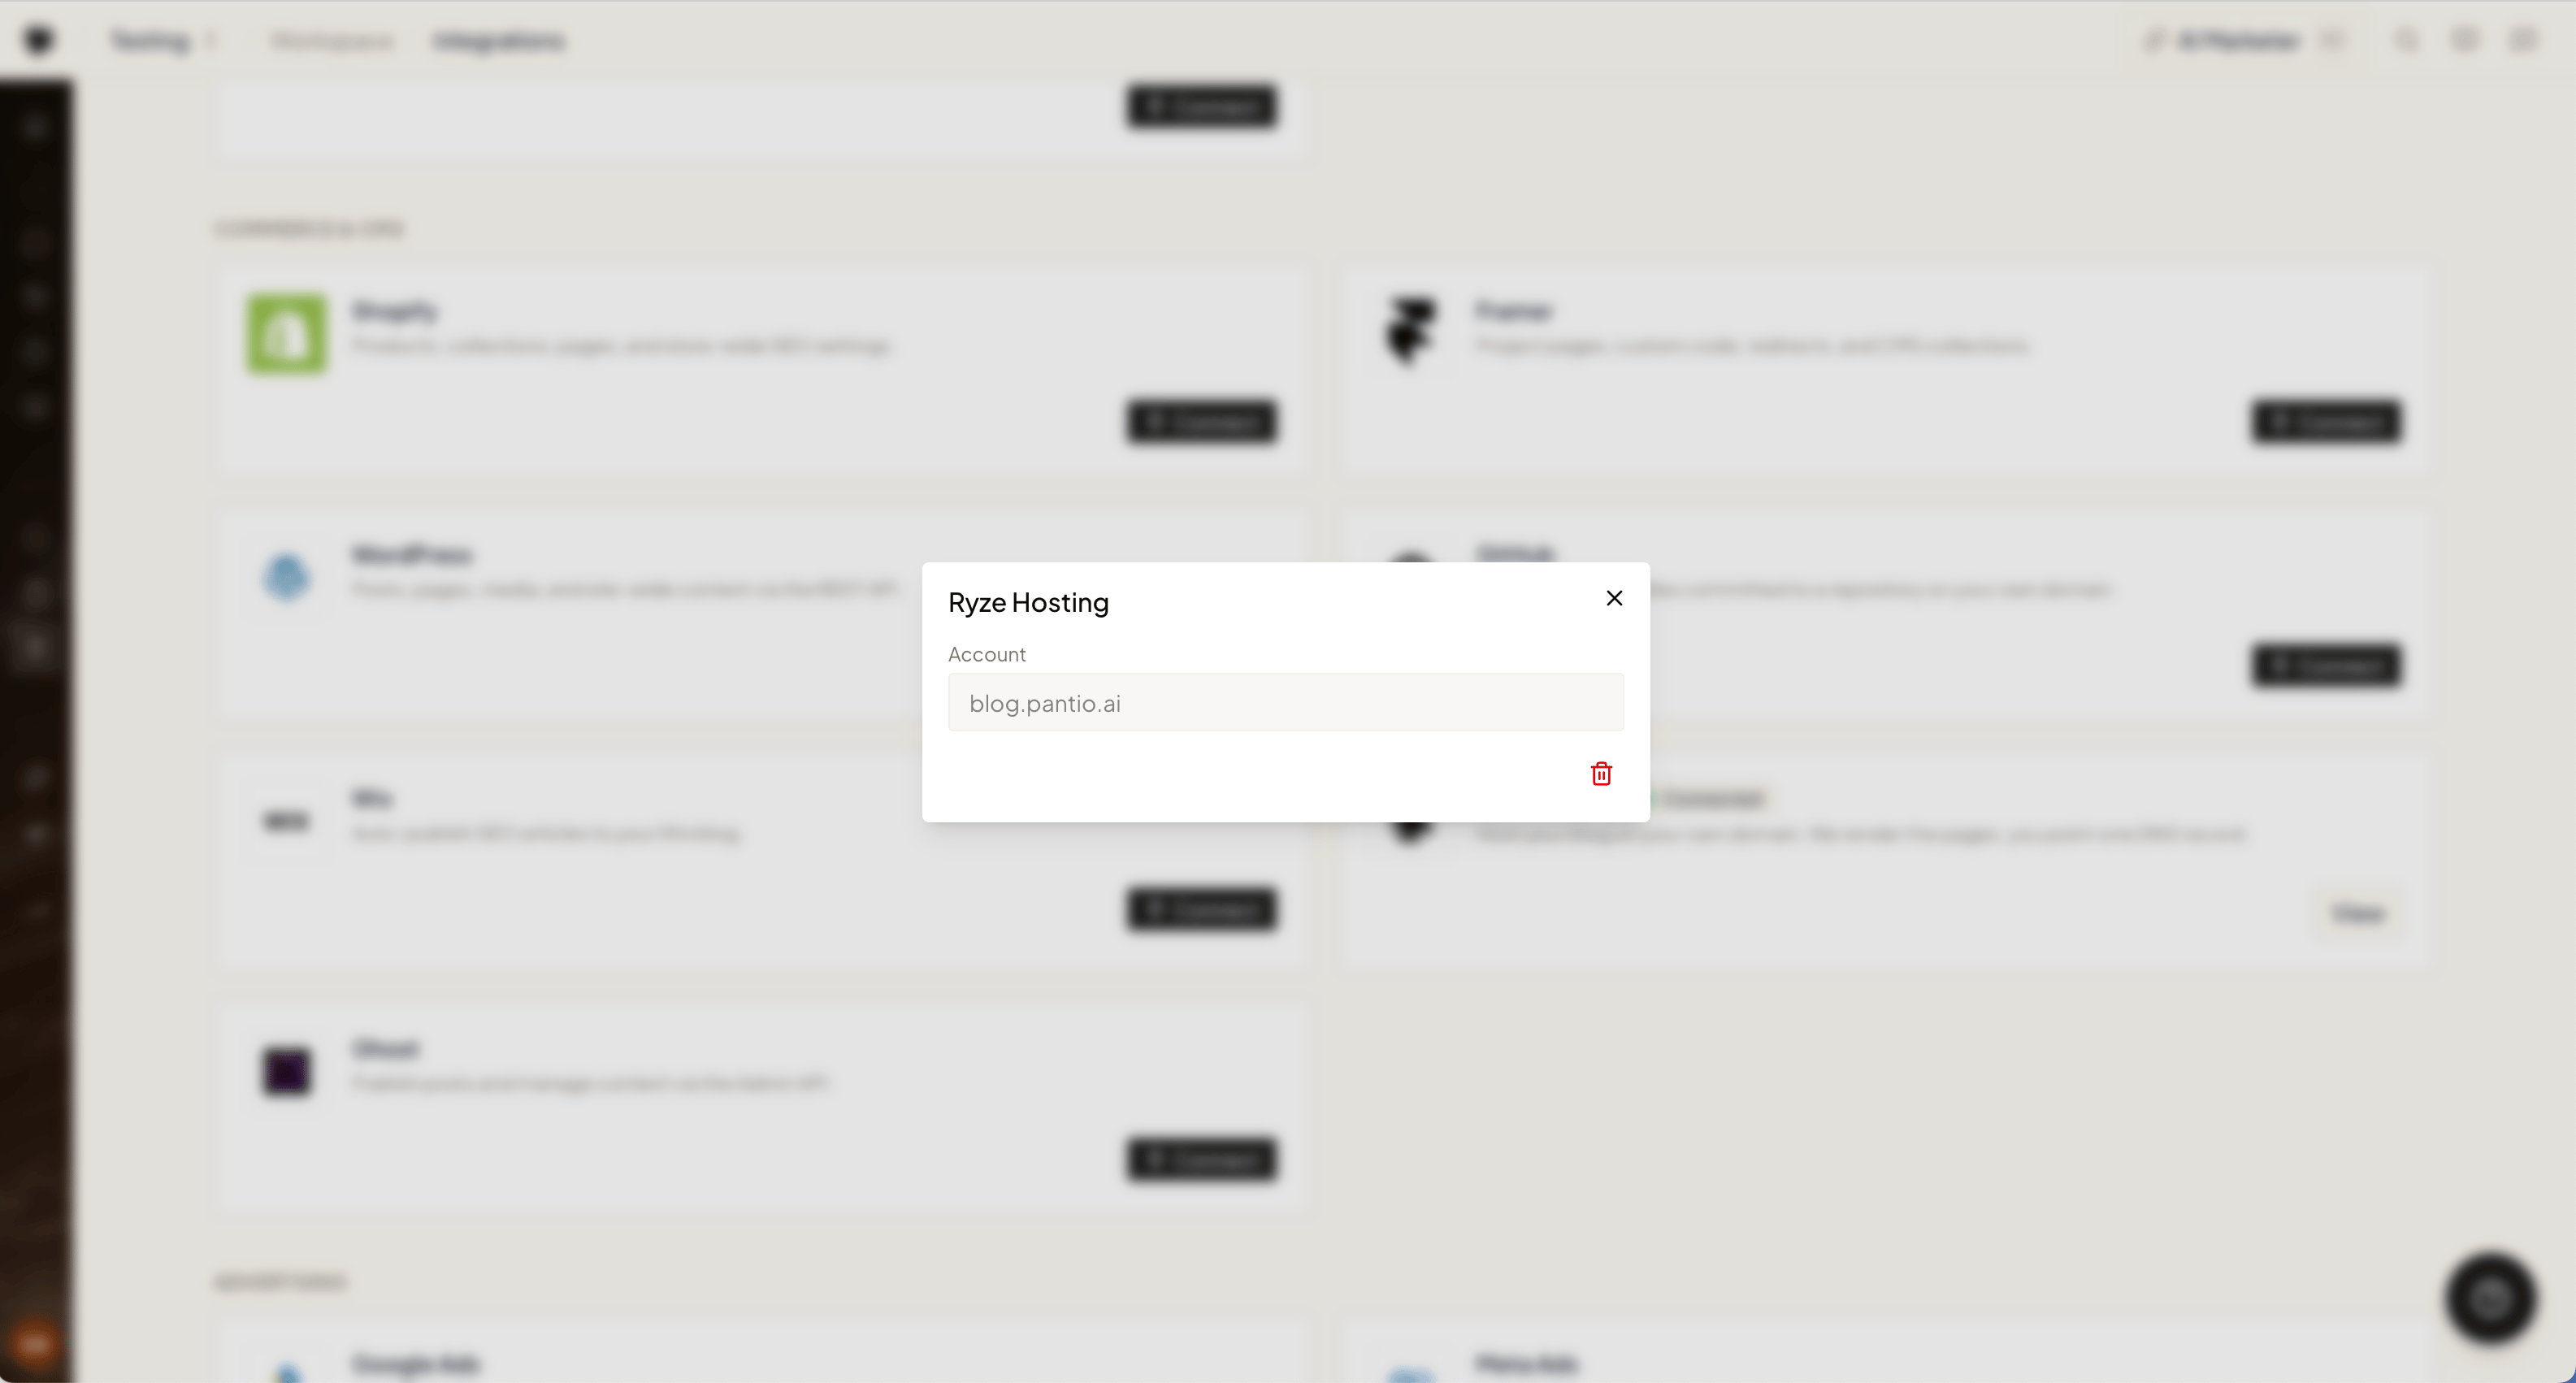
Step 1 — Add your domain
In Workspace Settings → Integrations, click Connect on the Ryze Hosting card and enter the domain you want your blog to live on.- A subdomain (recommended) — e.g.
blog.example.com, keeping your main site untouched. - Your root domain — e.g.
example.com, if the whole domain is for the blog.
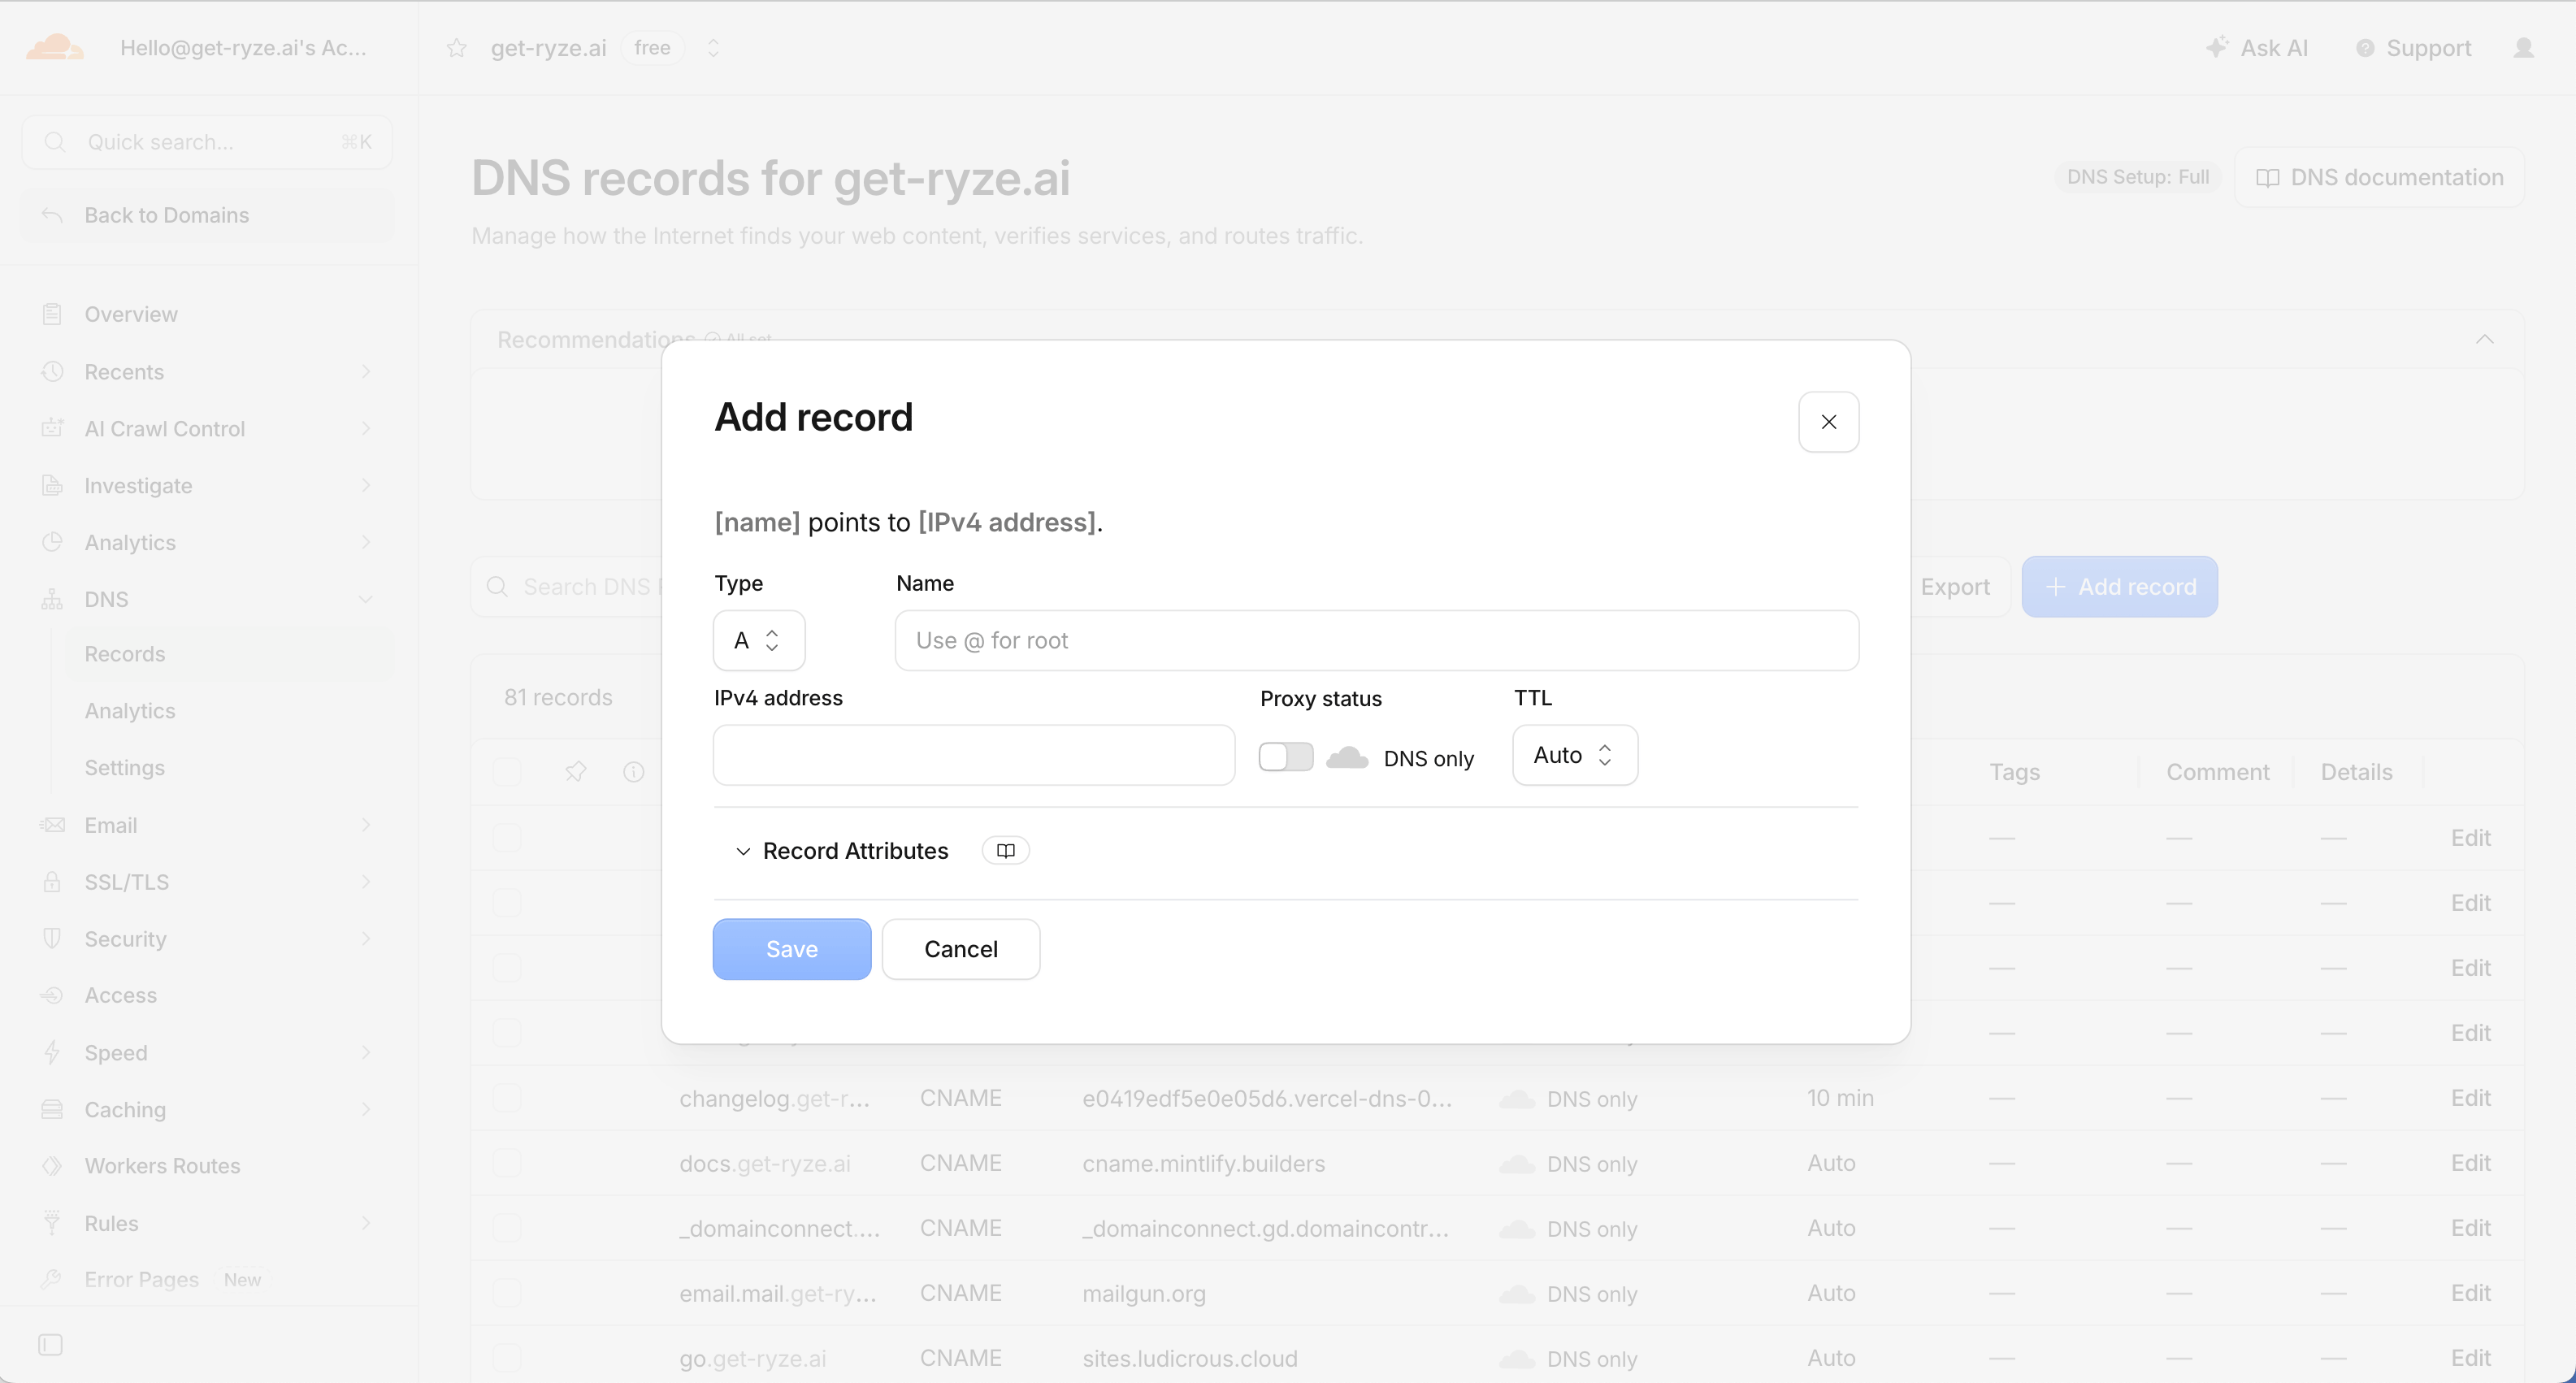
Step 2 — Add the DNS record
Ryze shows the exact record to add at your domain provider. Which one depends on what you entered:
If Ryze also shows a verification record (a
TXT or extra CNAME), add that one too — it’s needed when the domain is already used elsewhere.
Ryze detects your DNS provider and gives you a button straight to its panel — Cloudflare, GoDaddy, Namecheap, Route 53, Vercel, Google Domains, DigitalOcean, Name.com, DNSimple, or Porkbun.
Step 3 — Verify
Back in Ryze, click Check status. Ryze checks your DNS and verifies the domain once the record resolves — usually a few minutes, up to about an hour for DNS to propagate. It keeps re-checking on its own, so you can close the dialog and come back. Once verified, HTTPS is issued automatically and your blog is live at your domain.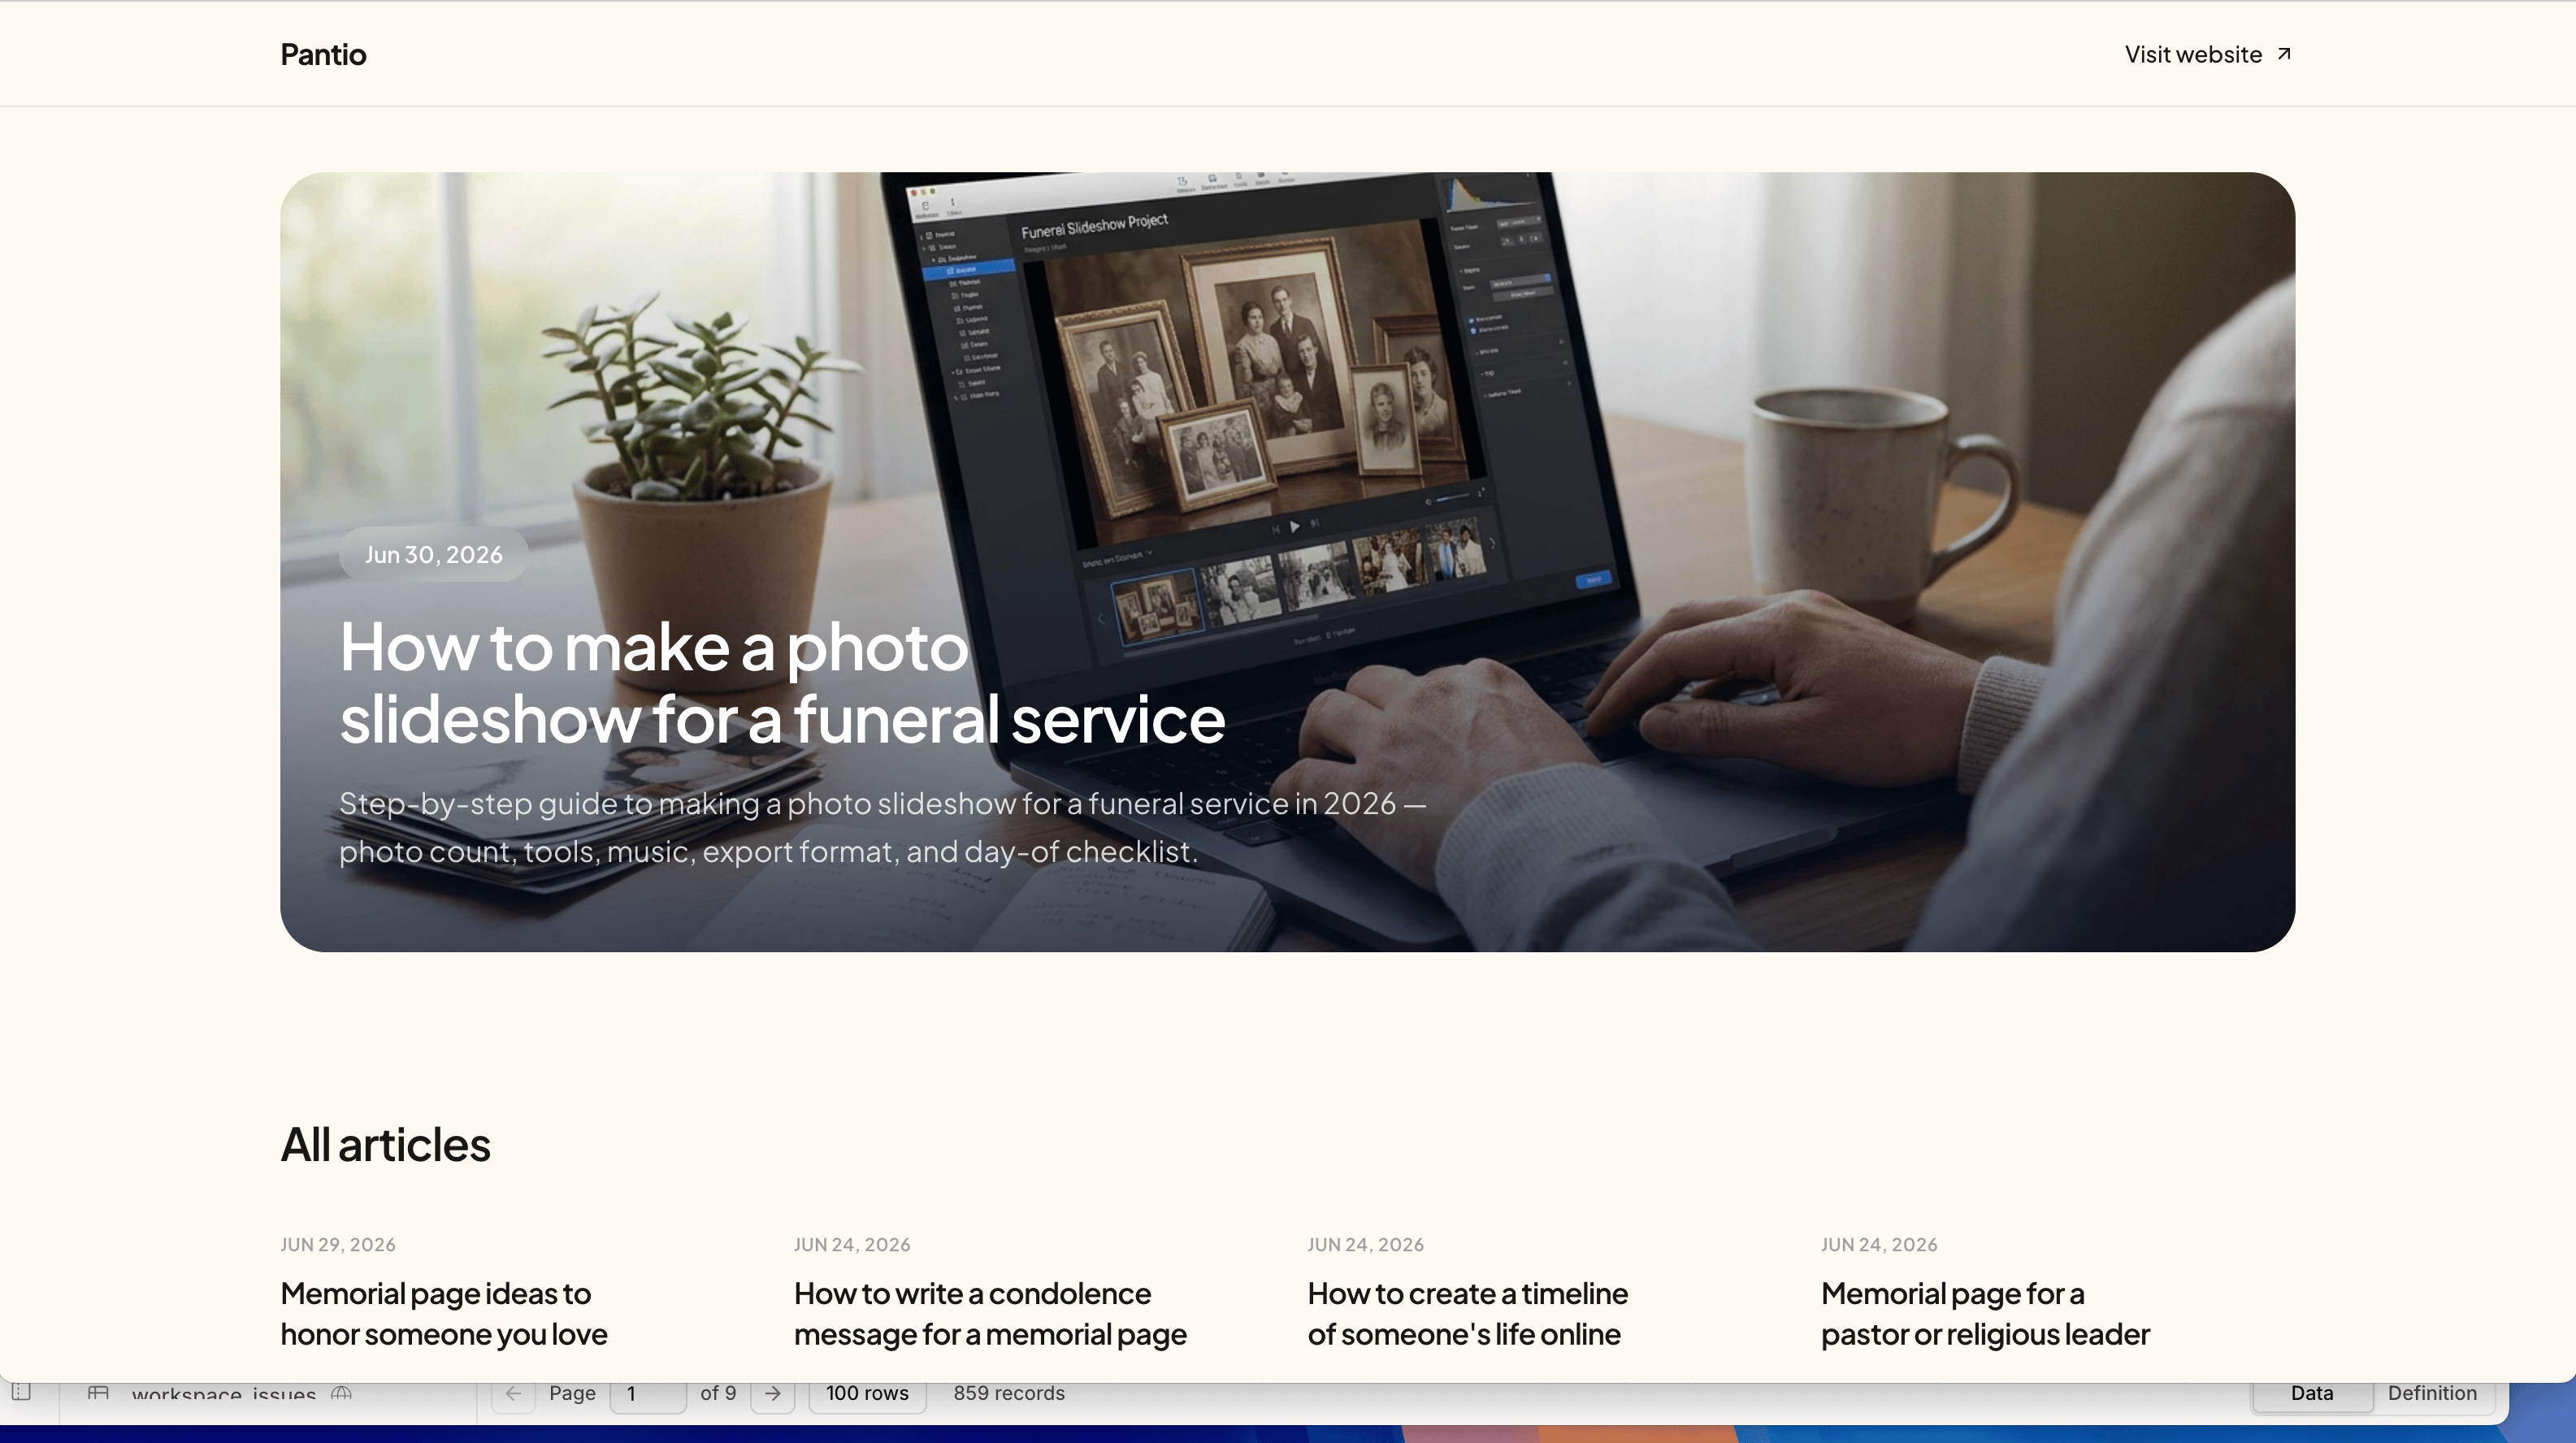
Publishing to it
With Ryze Hosting connected, it works like any other publishing destination — programmatic articles publish to your hosted blog on schedule. See Programmatic Articles.Keeping the hosted blog out of Google
If you publish the same articles to your own CMS as well, the hosted copy can compete with your site for the same searches. You can switch the hosted copy off search entirely: in Blog Studio → SEO, turn on Keep this blog out of Google. When it’s on, three things change together so nothing contradicts: the blog’srobots.txt disallows crawling, the sitemap lists no articles, and every hosted page (index and articles) carries a noindex, nofollow tag. The SEO panel notes that the blog is hidden while the toggle is on. Switch it off to let search engines index the hosted blog again.
This only affects the Ryze-hosted copy — articles published to your own CMS are not touched. Hosted blogs on the default
*.byryze.com address also don’t take part in the Backlink Exchange; a custom domain connected here does.Troubleshooting
- Not verifying — DNS can take up to an hour. Confirm the record type matches your domain (CNAME for a subdomain, A for a root), and that the name and value are exact.
- Cloudflare stuck — the record must be DNS only (grey cloud). Switch off the proxy and check again.
- Verification record ignored — if Ryze showed a second (verification) record, both records must be present.